We all want to give our furry companions the best start in life, and one of the best things you can do for them is crate train them. Some misinformed owners believe that a crate is akin to “caging up” your pup; however, this is far from the truth.
In reality, a crate functions as a homely den; it provides your pup a place to call their own where they can feel secure and safe. If properly crate trained, they will love nothing more than spending time in their crate.
Crate training a puppy does take time and effort, but the benefits make it all worthwhile; it can ease their anxiety, help with housebreaking and even prevent unwanted behaviors. We’ll go over all the benefits in more detail down below. But first, we’ll cover exactly how to go about crate training a puppy.
A Step by Step Guide to Crate Training a Puppy
Before we get into our guide, it’s important to note that crate training can be a lengthy process. According to the American Kennel Club (AKC), it takes a dog around six months to be fully crate trained. Of course, every pup is different – temperament, past experiences, and age can all play a part. Some will pick it up more quickly, and others will take much longer.
Don’t get frustrated if your pup is not making progress as fast as you thought they would. Be patient and keep at it. They’ll get there in the end at their own pace!
Safety Precautions
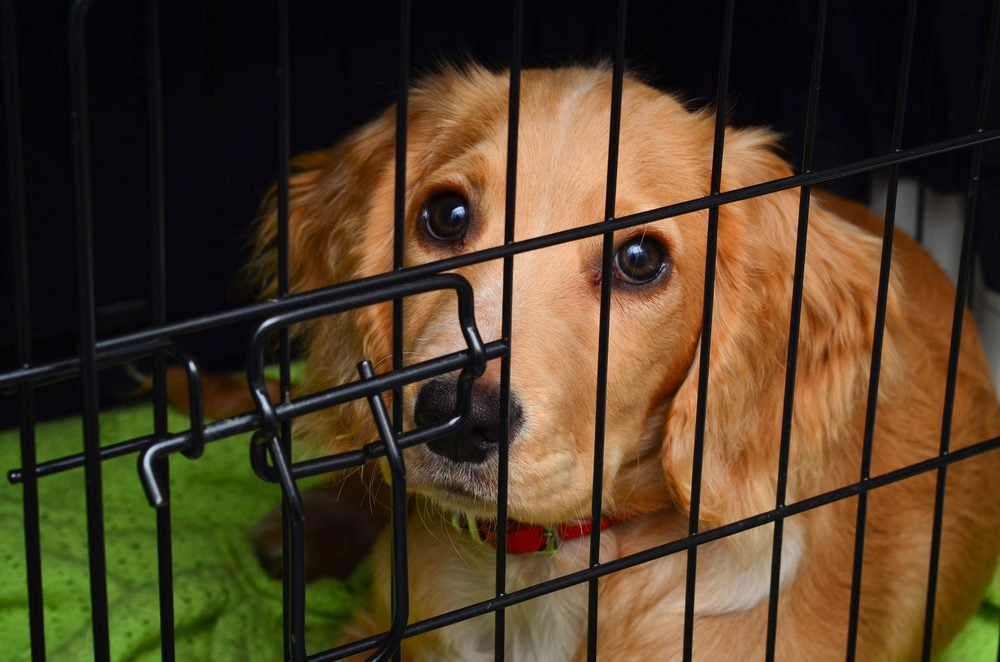
During training, make sure your pup is not wearing their collar when they’re inside the crate. If their collar or its tags get caught, they could end up hurting themselves.
Step 1: Introducing the Crate
Set up the crate at your desired location (tips on picking the perfect spot further down). Leave the door open, and give your pup some time to explore the crate.
Whenever they show interest in the crate, reward them with a treat and praise them. Then gradually narrow your criteria – only reward them if they get close to the crate, then only if they enter it. This process is called “shaping,” and it entails encouraging your pup to act out the desired behavior on their own accord.
As they become more confident, you can also start incorporating a command cue word. Every time they enter the crate, say the words “crate up.” Over time, they’ll soon realize that “crate up” means to enter their crate.
Your puppy might be hesitant to approach the crate at first, but never physically push them toward it, and certainly don’t force them into it. If you force them before they’re ready, it can make them anxious and stressed, and they can even end up fearing the crate.
If your puppy is acting cautious or is simply not intrigued by the crate, there are a few things you can try:
- Sit near the crate and speak to your puppy in an extremely happy, high-pitched tone. The happier the sound, the more your pup is going to think there’s something fun going on, and the more likely it is that they’ll want to come over and explore.
- Try some gentle luring; place some treats or toys around the crate and at its entrance.
- Ensure your pup is in a relaxed mindset before introducing the crate. They’ll associate the crate with their feelings of calm.
- Consider investing in a double-door crate. The additional door will make the crate appear even more open and welcoming, which can give a timid pup the confidence to explore it.
- Disassemble the crate and focus on just getting your pup to interact with the bottom tray. As they grow more confident, gradually re-assemble the sides, one by one. Every time you add a new side, make sure to repeat the process of letting them explore and rewarding them when they do interact with it.
Step 2: Making the Crate a Positive Experience
Once your pup is confidently exploring the crate, you now need to make their time in it as enjoyable and comfortable as possible. This will encourage them to view the crate as a safe place where they can relax and have fun.
While the treats will have already helped build up the positive associations, here, we’ll go over several more ways to make their crate a more enjoyable place to be.
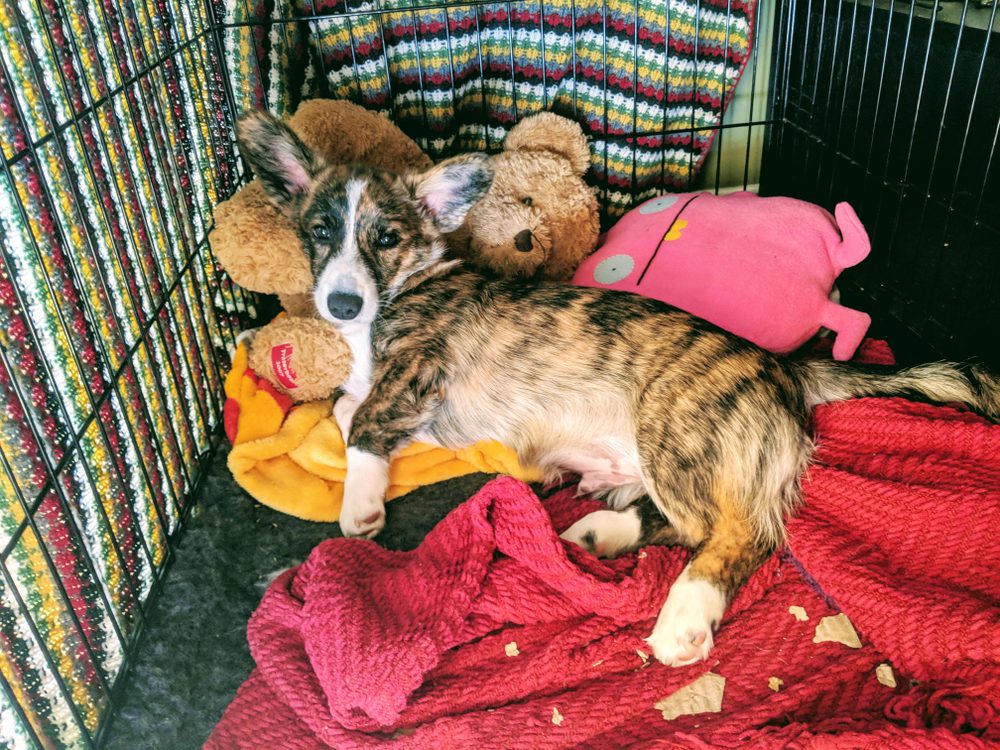
- Place their favorite treats inside, and fill the crate with stimulating games and tough chew toys.
- Add a blanket that is covered in their mother’s or littermates’ scent. This will offer a sense of familiarity and comfort.
- Feed them their meals nearby the crate or inside it if they seem confident enough. If they are the former, move their food dish gradually into their crate as they grow more confident.
- Add comfortable bedding – make sure any bedding is chew-resistant and safe for your pup!
Remember that once your pup is fully crate trained, you shouldn’t take away all the things that make it a positive experience, like comfortable bedding and feeding them their meals in the crate. It always needs to be a cozy place for them.
Step 3: Shutting the Door and Increasing Time
Once you’ve built up the positive associations, you can now work on getting your pup used to being in the crate with the door closed, as well as being inside it for longer periods of time.
- While they’re inside the crate, give them a treat to chew on and slowly close the door. At this stage, make sure only to close the door, don’t lock it.
- Once they’ve finished the treat, open the door again.
- Repeat this process, gradually increasing the time before you open the door for them.
- Once they’re able to stay in the crate for longer than 10 minutes, repeat the process from the start, but now lock the door each time.
Additional Tips
Make sure to close the gate slowly. If you shut it too fast, the sudden movement and noise could startle your pup and scare them.
If your pup shows any distress or discomfort during this process, it’s a clear sign you’ve pushed them too far. So go back a few steps and take it slower.
If they start whining, wait until they’re quiet before you let them out. If you open the crate while they’re still whining, you’ll reinforce their negative feelings, and you’ll also be teaching them that whining is a behavior that gains your attention.
Gradually increasing the time will help make it more manageable for your pup, as you’re not always asking them to outperform themselves every time. The “mix it up” strategy should be used in the training processes below as well.
Step 4: Leaving the Room
Now, you’ll need to get your pup used to being in their crate when you’re not in the room.
This time when your puppy enters their crate, take a step back. Then wait for a few seconds, return to them and give them a treat. Repeat this step, gradually increasing the distance and duration.
Once your puppy is happy with you not being near the crate, start leaving the room. Just like before, take it slowly. At first, make sure to only leave the room for a few seconds before returning.
Additional Tips
This part of the process usually takes the longest. It can even take several months. So be patient with your pup; as always, regular and consistent training is key.
When you leave them alone in their crate, don’t make a big deal of it. If you shower them with heaps of love, treats, and praise every time you take off, they’ll associate this affection with you leaving and get stressed.
Don’t forget to use your cue word “crate up,” and make sure to practice this cue word from various distances.
Step 5: Adding Distractions
Great! Your puppy can now comfortably stay in their crate for long periods of time when you’re not in the room, but what if there are distractions? Puppies are curious and love to be a part of all the commotion. Chances are, they won’t sit still in their crate if there are things going on around them.
Luckily, through training, it’s completely possible to get them to stay calm even if there are distractions. Below, we’ve outlined the steps for you:
- Start with a small and quiet distraction, like rearranging things on the table near them.
- If they don’t react, reward them. If they react, reduce the distraction level, but only do so once they’re calm.
- Slowly increase the noise, size, and duration of the distraction.
Step 6: Fading Out the Lure
Once your pup has mastered the crate, don’t forget to fade out the lure. If you’re not familiar with the term, fading the lure basically translates to fading out the use of rewards. This step is essential – if you reward your puppy every time they use their crate, they’ll end up only using it if you give them treats.
To fade out the lure, slowly lessen the amount of times you reward your pup when they use the crate. Doing so gradually is vital here; if you suddenly stop giving them rewards entirely, they’ll become annoyed, confused, and act out as a result.
Never Use the Crate as a Punishment
We can’t stress this enough: you should never use the crate as a way to punish your pup. Rather than viewing it as a safe place of refuge, they will associate it with your anger and ultimately come to see it as a horrible place to be. Eventually, they will fear and avoid it, and all your training efforts will go down the drain.
While looking after a puppy can be difficult, remember to keep calm and remind yourself your pup doesn’t know what’s right and what’s wrong. They’re not going out of their way to frustrate you.
Puppy Whining in Their Crate at Night
As we talked about earlier in “Step 3”, it’s important to not give in to your pup’s whines for attention. With that said, if they suddenly start whining at night and continue whining even after you’ve ignored them for a few minutes, they likely need to relieve themselves.
Most pups will need to relieve themselves at least once during the night. Puppies’ bladders aren’t fully developed until they’re around six months old, so they physically can’t hold their bladder for long periods of time.
When taking your pup to go potty at night, do not shower them with attention. Take them to their designated “potty spot,” then take them back to their crate immediately once they’ve finished their business.
If your pup doesn’t need to relieve themselves and simply has a hard time settling down in their crate, there are a few things that you can try:
- Make sure they have exhausted all their energy. The more tired they are, the greater chance they’ll snooze peacefully. Great ways to tire your pup out include exercise, games, and training.
- Ensure their crate is as cozy as possible – we’ve already covered all the ways to make it cozy for them further up.
- Give your puppy a heated toy or water bottle. The heat will make it seem like they have the company of their littermates, which can alleviate their anxiety. You can also play them soothing, classical music; recent studies have shown that this type of music helps dogs feel at ease.
Where to Place the Crate
Keep the crate in your bedroom initially. This will prevent your pup from feeling isolated, and it will allow you to easily hear them if they whine.
Once your pup starts to sleep peacefully through the night and has better control over its bladder, you can begin to move the crate further away, eventually to the location of your choice. We recommend placing the crate in an area where you and your family spend a lot of time, like the living room. Dogs are social animals and thrive in group settings; they love being near their owners and don’t like to be left out.
Of course, be aware that if they suffer from anxiety, a quiet corner will probably be better, especially if you have guests around the house frequently.
No matter which location you choose, make sure it’s warm and draft-free. You should also avoid placing the crate by a radiator, vent, or areas in direct sunlight.
How Long Should You Leave a Puppy in Their Crate
Leaving your puppy inside their crate for too long is a recipe for disaster – they’ll become stressed, frustrated and likely turn to destructive behaviors. It will also make them see the crate as anything but a safe space, which can hinder any crate training progress you’ve made so far.
The less time your puppy is left alone in their crate, the better, but as a general rule of thumb, it shouldn’t be more than a few hours. More precisely, according to the AKC, the maximum number of hours can be determined by the month-plus-one rule: “the age of your puppy in months and add one.” So, a 3-month-old puppy should be able to comfortably stay in a crate for four hours. Seven hours is the maximum time any dog should be left in a crate.
Keep in mind that the guidance above is solely based on how long an average pup can hold its bladder. Their personality and temperament can also play a huge part in how long they should be left in a crate; they might be able to hold their bladder for a long time but get bored quickly.
Another factor to take into account is if your pup has any medical conditions. Some conditions can cause dogs to need the bathroom more often.
Leaving a Puppy Alone in Their Crate
When leaving your puppy alone for longer than 30 minutes, make sure they have games inside the crate and a safe, long-lasting chew to keep them entertained. By safe, we mean a puppy-friendly one that won’t pose a choking hazard – speak to your veterinarian for recommendations.
Be aware that although your pup might be able to stay in their crate for a few hours without getting stressed, you shouldn’t use this to justify leaving them alone in their crate for hours during the day every day. They might seem okay with it at first, but it can be detrimental to their well-being in the long term. Instead, hire a dog sitter or seek help from a friend.
Choosing the Right Crate
Before you even begin crate training a puppy, you need to make sure you’ve bought an appropriate crate for them. There are many factors to consider, such as the size, type, and your pup’s temperament.
Size
Your pup should be able to move around in the crate comfortably and stand up with ease. However, it shouldn’t be too spacious. If the crate is too big, it won’t provide the same sense of security they’ll get from a more enclosed crate, and it can even hinder their potty training. Here is a handy guide that will help you determine which size is right for your puppy.
It’s worth noting that many crates have a divider feature that allows you to adjust the size. This is a must-have quality if you’re getting a crate for a pup; as they grow, you can gradually increase the space by moving the divider instead of having to buy an entirely new crate.
Type
There are several types of dog crates available on the market, including wire crates, plastic crates, and soft-sided crates. Below, we’ll cover the pros and cons of each main type, so you can determine exactly which type is most suitable for you and your pup.
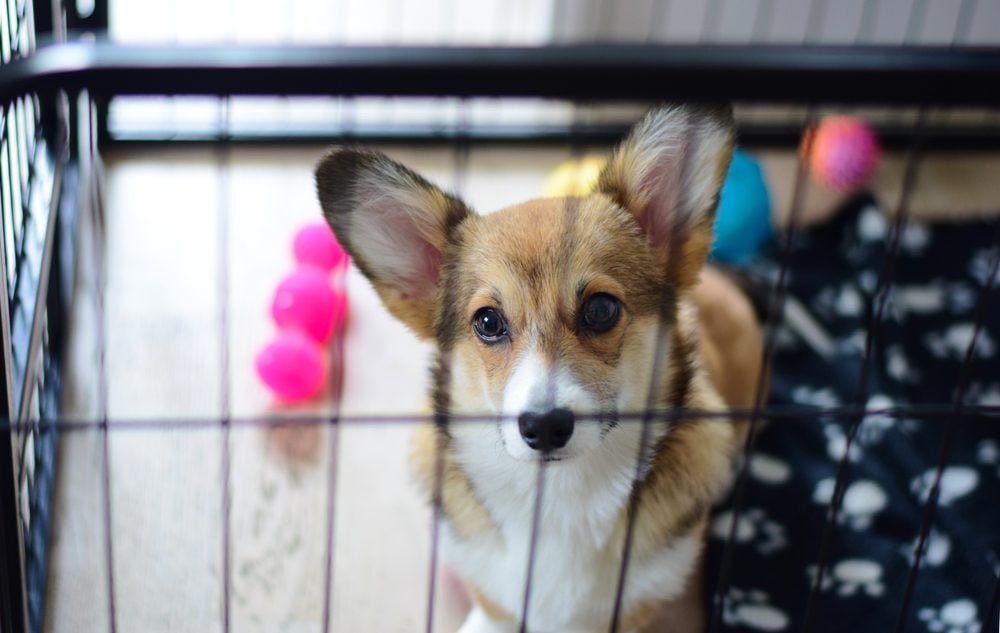
Wire Crate
Pros:
- Exceptionally easy to clean; most have a slip-out bottom tray.
- Fantastic airflow – helps to keep your pup cool during hot weather.
- Allows pup to see what’s going on around them. This can help to make them feel less stressed. You can also easily see what they’re up to.
- Wire crates fold up to a compact size, providing great portability.
- Most are adjustable and have a divider feature.
- Wire crates are the most durable; they’re long-lasting, chew proof and scratch resistant.
Cons:
- While compact when folded, wire crates tend to be on the heavy side.
- For some dogs, being able to see everything going on around them can actually make them feel more stressed and overwhelmed.
- Wire crates can be noisy, especially if your pup moves about a lot inside the crate.
- No insulation during cold temperatures.
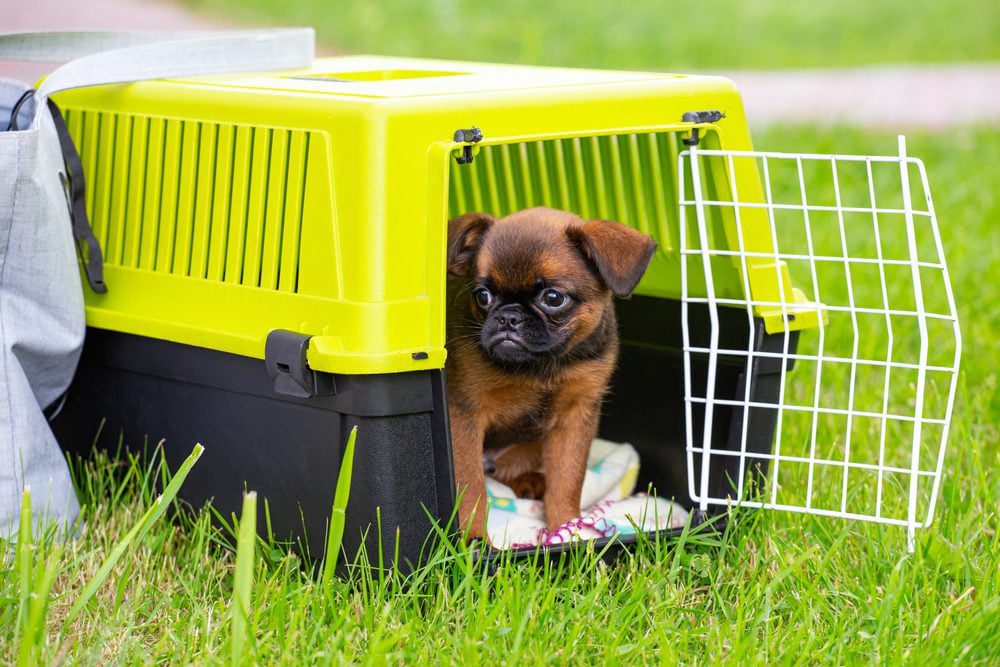
Plastic Crate
Pros:
- Plastic crates are much lighter than wire crates; which makes traveling with your pup a breeze.
- Offers more insulation, so ideal for winter.
- Less visibility, making it perfect for pups that get stressed by their surroundings.
- Most can be used for air travel; many plastic crates are “airline approved.”
Cons:
- Plastic crates tend to have less ventilation, so they’re not really suitable for use in hot weather.
- Not ideal for pups that love seeing what’s going on.
- Much more difficult to clean, and plastic retains odors.
- Despite being light, it can’t be folded up.
Soft-Sided Crate
Pros:
- Light and portable and can be made compact.
- Extremely soft, making it very comfortable for pups.
- The easiest to store out of all the types.
Cons:
- Lacks durability; not really chew proof or scratch resistant.
- Difficult to get out any stains.
Benefits of Crate Training a Puppy
Crate training a puppy has a whole host of amazing benefits, all of which help their well-being. We’ve briefly touched on the benefits throughout this article, but we’ll go over them in more detail here.
A crate provides your pup space where they can feel safe and secure. This encourages self-soothing and can help alleviate their stress and anxiety.
If you ever have to move or take your dog somewhere new, bringing their crate will help them adjust since it’ll give them a sense of familiarity.
It can be a lifesaver in emergencies; your pup will be more than willing to go into their crate without fuss, allowing you to quickly and easily transport them. They also won’t be stressed if they ever have to be crated for travel.
You can travel in a car with your pup safely; unlike non-crated dogs, they won’t move about and distract the driver.
If you can’t supervise your pup, you can put them in their crate instead of leaving them to their own devices. This can help to prevent them from developing bad habits and can even be used to manage any bad habits they do pick up. With that said, keep in mind that management methods should always be used in conjunction with dedicated training.
Crate Training a Puppy: The Takeaway
Looking after a pup is a rewarding and exciting experience, but it’s not without its difficulties. Crate training a puppy offers immeasurable benefits that will make some of the many challenges of puppyhood (and doghood) more manageable.
Although crates have often been labeled as “cruel” by misguided dog lovers, if used appropriately, a crate will never be a source of discomfort or fear. The only time a crate will become something that distresses a dog is if it is misused, just like any other training tool.